Category: LG

  • How to Fix LG Washer Error 1E

    How to Fix LG Washer Error 1E

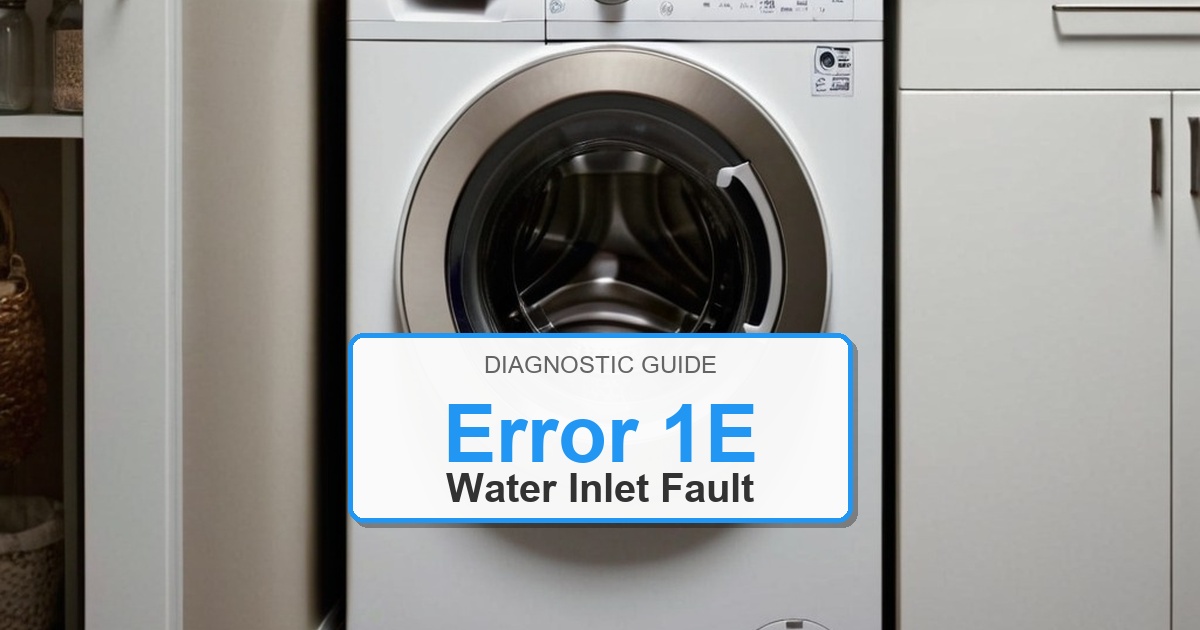
    Error Code: 1E Difficulty: Moderate

    Problem: A problem with the water supply.

    How to Fix 1E Error (Step-by-Step)

    1. Turn off the water supply to the washer. Unplug the washer from the wall outlet for safety.
    2. Check the water inlet hoses at the back of the machine. Ensure they are not kinked, bent, or crushed.
    3. Unscrew the hoses from the washer. Inside the connection ports on the washer, you will find small filter screens. Carefully remove these screens with needle-nose pliers.
    4. Clean the filter screens thoroughly under running water to remove any sediment or debris. Reinstall the clean screens.
    5. Reconnect the hoses securely, ensuring a tight fit to prevent leaks. Turn the water supply back on fully.
    6. If the error persists, the water inlet valve may be faulty. Access this part by removing the top panel of the washer. It’s the part the hoses connect to.
    7. Disconnect the wire harnesses and remove the mounting screws to replace the old valve with a new one.
    8. Turn the appliance off, wait about 2 minutes, then turn it back on.
    Verified Compatible Alternatives:

    • 5220FR2075L (Water Inlet Valve)
    • 5221EA1001S (Water Inlet Valve)
    • 5221ER1003A (Water Inlet Valve)

    Still Not Working?
    If the replacement part didn’t fix the issue, you may have a wiring problem or main board failure.

    When It’s Better to Replace Than Repair

    Sometimes replacing an appliance makes more financial sense than putting more money into repairs.
    Here are a few signs it may be time to shop for a new one:

    • Appliance over 8-10 years old
    • Repair cost over 50% of replacement
    • Multiple recent breakdowns
    • Major component failure

    Recommended Replacement Options

    Budget Option

    Top Rated Washers Under $600

    • Amazon’s Highest-Rated Value Models
    • Free ‘Room of Choice’ Delivery Available
    • Professional Haul-away Options at Checkout


    View Top Rated Models & Delivery Options

    Mid-Range Option

    Top Rated Washers $600 to $1,000

    • Best-Sellers with Thousands of 5-Star Reviews
    • Expert Installation & Hookup Services available
    • Protection Plans for Long-Term Peace of Mind


    View Top Rated Models & Delivery Options

    Premium Option

    Top Rated Washers Over $1,000

    • Top-of-the-Line Performance & Technology
    • White-Glove Delivery and Haul-away eligible
    • Comprehensive Warranty & Support Options


    View Top Rated Models & Delivery Options

    Why Upgrade via Amazon?

    • Fast, Scheduled Delivery – You pick the date and time
    • Expert Installation – Professional setup available for most models
    • Old Appliance Haul-away – They’ll take your broken unit when they leave
    • Easy Returns – Buy with confidence from a leader in customer service

    As an Amazon Associate, we earn from qualifying purchases.

    Best Value Replacement Washers

    If your current unit is repeatedly failing, replacing it may save money versus another major repair.

    Budget Option ($200-$600)

    Top Rated Full Size Models Under $600

    Check Price & Delivery on Amazon

    Mid-Range Option ($600-$1000)

    Best-Selling Full Size Washers

    Check Price & Delivery on Amazon

    Premium Option ($1000+)

    Premium Full Size Washers

    Check Price & Delivery on Amazon

    As an Amazon Associate, we earn from qualifying purchases.

  • How to Fix LG Washer Error DC

    How to Fix LG Washer Error DC

    Error Code: DC Difficulty: Moderate

    Problem: On top-loading models, this is a combined error for door closure and an unbalanced load.

    How to Fix DC Error (Step-by-Step)

    1. First, try to redistribute the laundry inside the drum. An unbalanced load is a common cause for this error. Close the lid and try to restart the cycle.
    2. Check if the washer is level. Use a level to check the top of the machine. Adjust the leveling feet at the bottom as needed until the washer is stable and does not rock.
    3. Make sure nothing is blocking the lid from closing completely. Small items can sometimes get in the way.
    4. Unplug the washer from the power source to ensure your safety.
    5. To replace the door lock, you will need to access it by removing the top panel or control console area, depending on your model.
    6. Locate the door lock assembly. Disconnect the electrical connector attached to it.
    7. Remove the screws holding the old lock in place. Install the new door lock, secure it with the screws, and reconnect the wire harness.
    8. Turn the appliance off, wait about 2 minutes, then turn it back on.
    Verified Compatible Alternatives:

    • EBF49827801 (Door Lock Assembly)
    • EBF61315802 (Door Lock Assembly)

    Still Not Working?
    If the replacement part didn’t fix the issue, you may have a wiring problem or main board failure.

    When It’s Better to Replace Than Repair

    Sometimes replacing an appliance makes more financial sense than putting more money into repairs.
    Here are a few signs it may be time to shop for a new one:

    • Appliance over 8-10 years old
    • Repair cost over 50% of replacement
    • Multiple recent breakdowns
    • Major component failure

    Recommended Replacement Options

    Budget Option

    Top Rated Washers Under $600

    • Amazon’s Highest-Rated Value Models
    • Free ‘Room of Choice’ Delivery Available
    • Professional Haul-away Options at Checkout


    View Top Rated Models & Delivery Options

    Mid-Range Option

    Top Rated Washers $600 to $1,000

    • Best-Sellers with Thousands of 5-Star Reviews
    • Expert Installation & Hookup Services available
    • Protection Plans for Long-Term Peace of Mind


    View Top Rated Models & Delivery Options

    Premium Option

    Top Rated Washers Over $1,000

    • Top-of-the-Line Performance & Technology
    • White-Glove Delivery and Haul-away eligible
    • Comprehensive Warranty & Support Options


    View Top Rated Models & Delivery Options

    Why Upgrade via Amazon?

    • Fast, Scheduled Delivery – You pick the date and time
    • Expert Installation – Professional setup available for most models
    • Old Appliance Haul-away – They’ll take your broken unit when they leave
    • Easy Returns – Buy with confidence from a leader in customer service

    As an Amazon Associate, we earn from qualifying purchases.

  • How to Fix LG Washer Error DEL

    How to Fix LG Washer Error DEL

    Error Code: DEL Difficulty: Moderate

    Problem: A variant display for the ‘dE1’ error, indicating the washer’s door is open and not locked.

    How to Fix DEL Error (Step-by-Step)

    1. Open the washer door and then close it firmly to ensure it is latched securely. Listen for a ‘click’ sound.
    2. Inspect the door and the area around the seal for any clothing, lint, or other obstructions that might be preventing a proper seal.
    3. Examine the door latch mechanism on the door and the lock assembly on the washer frame for any signs of physical damage or misalignment. The plastic or metal latch could be broken.
    4. Unplug the washing machine from the electrical outlet for at least 60 seconds. This will reset the main control board. Plug it back in and try to start a cycle.
    5. Access the door lock assembly, which is typically located behind the front panel, attached to the frame where the door latches.
    6. Disconnect the wiring harness from the lock, remove the mounting screws, and replace the old assembly with a new one.
    7. Turn the appliance off, wait about 2 minutes, then turn it back on.
    Verified Compatible Alternatives:

    • EBF49827801 (Door Lock Assembly)
    • EBF61315802 (Door Lock Assembly)

    Still Not Working?
    If the replacement part didn’t fix the issue, you may have a wiring problem or main board failure.

    When It’s Better to Replace Than Repair

    Sometimes replacing an appliance makes more financial sense than putting more money into repairs.
    Here are a few signs it may be time to shop for a new one:

    • Appliance over 8-10 years old
    • Repair cost over 50% of replacement
    • Multiple recent breakdowns
    • Major component failure

    Recommended Replacement Options

    Budget Option

    Top Rated Washers Under $600

    • Amazon’s Highest-Rated Value Models
    • Free ‘Room of Choice’ Delivery Available
    • Professional Haul-away Options at Checkout


    View Top Rated Models & Delivery Options

    Mid-Range Option

    Top Rated Washers $600 to $1,000

    • Best-Sellers with Thousands of 5-Star Reviews
    • Expert Installation & Hookup Services available
    • Protection Plans for Long-Term Peace of Mind


    View Top Rated Models & Delivery Options

    Premium Option

    Top Rated Washers Over $1,000

    • Top-of-the-Line Performance & Technology
    • White-Glove Delivery and Haul-away eligible
    • Comprehensive Warranty & Support Options


    View Top Rated Models & Delivery Options

    Why Upgrade via Amazon?

    • Fast, Scheduled Delivery – You pick the date and time
    • Expert Installation – Professional setup available for most models
    • Old Appliance Haul-away – They’ll take your broken unit when they leave
    • Easy Returns – Buy with confidence from a leader in customer service

    As an Amazon Associate, we earn from qualifying purchases.

  • How to Fix LG Microwave Error E-02

    How to Fix LG Microwave Error E-02

    Error Code: E-02 Difficulty: Hard

    Problem: The temperature in convection mode is not rising as it should.

    How to Fix E-02 Error (Step-by-Step)

    1. Disconnect the microwave from the power source completely and confirm the error stays cleared during a full test cycle.
    2. Remove the outer casing of the microwave to get to the internal parts.
    3. Find the convection heater element, which is usually a circular element located at the back or top of the oven cavity, often behind a metal panel.
    4. Visually inspect the heater element for any visible breaks, burns, or damage.
    5. Use a multimeter to test the heater for continuity. If the multimeter shows no continuity, the heater element is broken and must be replaced.
    6. If the heater tests good, the problem may be the main control board not sending power to the heater.
    7. Replacing the main control board is a complex task; if you’ve determined it’s the cause, carefully label and disconnect all wires from the old board before installing the new one.
    8. Turn the appliance off, wait about 2 minutes, then turn it back on.

    Next Steps and Parts

    Verified Compatible Alternatives:

    • Main Control Board

    Still Not Working?
    If the replacement part didn’t fix the issue, you may have a wiring problem or main board failure.


  • How to Fix LG Microwave Error E-10

    How to Fix LG Microwave Error E-10

    Error Code: E-10 Difficulty: Moderate

    Problem: A key on the control panel is shorted or stuck.

    How to Fix E-10 Error (Step-by-Step)

    1. Unplug the microwave from the power outlet and confirm the error stays cleared during a full test cycle.
    2. Thoroughly clean the surface of the keypad with a soft cloth slightly dampened with a mild cleaner. Pay attention to any sticky residue around the buttons.
    3. If cleaning does not solve the issue, you will need to access the control panel’s internal components. This requires removing the microwave’s outer cabinet.
    4. Locate the flat, flexible ribbon cable that connects the keypad to the main control board.
    5. Carefully unlatch the connector and disconnect the ribbon cable. Inspect the end of the cable for any corrosion or damage. Clean the contacts gently with a pencil eraser if they appear dirty.
    6. Securely reconnect the ribbon cable to the control board, ensuring it is straight and fully seated in the connector.
    7. If the error persists after these steps, the entire keypad assembly needs to be replaced.
    8. Turn the appliance off, wait about 2 minutes, then turn it back on.

    Next Steps and Parts

    Verified Compatible Alternatives:

    • Keypad Assembly

    Still Not Working?
    If the replacement part didn’t fix the issue, you may have a wiring problem or main board failure.


  • How to Fix LG Microwave Error E-11

    How to Fix LG Microwave Error E-11

    Error Code: E-11 Difficulty: Hard

    Problem: There is a touchpad error, indicating the control panel is not responding correctly.

    How to Fix E-11 Error (Step-by-Step)

    1. Disconnect the microwave from power. This is extremely important as microwaves contain high-voltage capacitors that can be dangerous.
    2. Remove the outer cabinet to access the internal electronics and confirm the error stays cleared during a full test cycle.
    3. Locate the main control board (the main circuit board with many connectors) and the inverter board (a separate board that powers the magnetron).
    4. Visually inspect both boards for any obvious signs of damage, such as burn marks, bulging capacitors, or loose connections.
    5. Check all the wire harness connections between the main board and the inverter board. Unplug and firmly reseat each connector to ensure a solid connection.
    6. This error often indicates a communication failure between the two boards. If all connections are secure, the most common culprit is a faulty inverter board.
    7. If replacing the inverter board does not fix the error, the main control board is the next most likely component to have failed and will need to be replaced.
    8. Turn the appliance off, wait about 2 minutes, then turn it back on.

    Next Steps and Parts

    Verified Compatible Alternatives:

    • Main Control Board

    Still Not Working?
    If the replacement part didn’t fix the issue, you may have a wiring problem or main board failure.


  • How to Fix LG Microwave Error F9

    How to Fix LG Microwave Error F9

    Error Code: F9 Difficulty: Hard

    Problem: This indicates a magnetron or inverter error.

    How to Fix F9 Error (Step-by-Step)

    1. Unplug the microwave from the wall outlet immediately. This repair involves exposure to extremely high and potentially lethal voltage.
    2. CRITICAL SAFETY STEP: You must discharge the high-voltage capacitor before proceeding. Carefully use a screwdriver with a well-insulated handle to touch one metal terminal of the capacitor to the other metal terminal simultaneously. You may see a spark and hear a pop, which indicates the capacitor is discharged.
    3. Remove the outer casing of the microwave by unscrewing the panels on the back and sides.
    4. Locate the magnetron and the inverter board. The magnetron is a box-shaped metal component, and the inverter is a circuit board that powers it.
    5. Carefully disconnect the electrical connectors from the magnetron and remove the screws or nuts holding it in place. Note the orientation of the old part before removing it.
    6. Install the new magnetron and/or inverter assembly, ensuring all screws and electrical connections are secure.
    7. Reassemble the microwave’s outer cabinet, plug the unit in, and test by heating a cup of water for one minute.
    8. Turn the appliance off, wait about 2 minutes, then turn it back on.

    Next Steps and Parts

    Verified Compatible Alternatives:

    • Inverter Assembly: EBR82899409

    Still Not Working?
    If the replacement part didn’t fix the issue, you may have a wiring problem or main board failure.


  • How to Fix LG Microwave Error F11

    How to Fix LG Microwave Error F11

    Error Code: F11 Difficulty: Hard

    Problem: In convection cooking mode, the temperature is above 100°C even after the maximum time of 30 minutes.

    How to Fix F11 Error (Step-by-Step)

    1. Completely disconnect the microwave from the electrical outlet for safety.
    2. Remove the outer wrapper of the microwave by taking out the screws on the back and sides.
    3. It is critical to locate and discharge the high-voltage capacitor to avoid electrical shock. Use a well-insulated screwdriver to short across its terminals.
    4. Locate the inverter board, which is a separate circuit board that powers the magnetron.
    5. Take a picture of the wire connections before carefully unplugging all connectors from the inverter board.
    6. Remove the screws holding the inverter board in place and swap it with the new one.
    7. Reconnect all wires, reassemble the microwave’s cabinet, and test the convection cooking function.
    8. Turn the appliance off, wait about 2 minutes, then turn it back on.

    Next Steps and Parts

    Verified Compatible Alternatives:

    • Main Control Board

    Still Not Working?
    If the replacement part didn’t fix the issue, you may have a wiring problem or main board failure.


  • How to Fix LG Microwave Error F3

    How to Fix LG Microwave Error F3

    Error Code: F3 Difficulty: Moderate

    Problem: There is a control panel malfunction or a key error. It can also indicate a temperature sensor error.

    How to Fix F3 Error (Step-by-Step)

    1. Unplug the microwave from the wall outlet to ensure your safety.
    2. Open the microwave door and look for screws along the frame that hold the control panel assembly in place.
    3. After removing the screws, gently pry the control panel assembly away from the microwave body.
    4. Be careful not to pull too hard, as it is connected by a delicate ribbon cable to the main board.
    5. Release the clip on the connector and detach the ribbon cable from the old keypad controller.
    6. Replace the old keypad assembly with the new one (part ACM74119046 or ACM74119039).
    7. Reconnect the ribbon cable, snap the control panel back into position, replace the screws, and test functionality.
    8. Turn the appliance off, wait about 2 minutes, then turn it back on.

    Next Steps and Parts

    Verified Compatible Alternatives:

    • Keypad Controller Assembly: ACM74119046

    Still Not Working?
    If the replacement part didn’t fix the issue, you may have a wiring problem or main board failure.