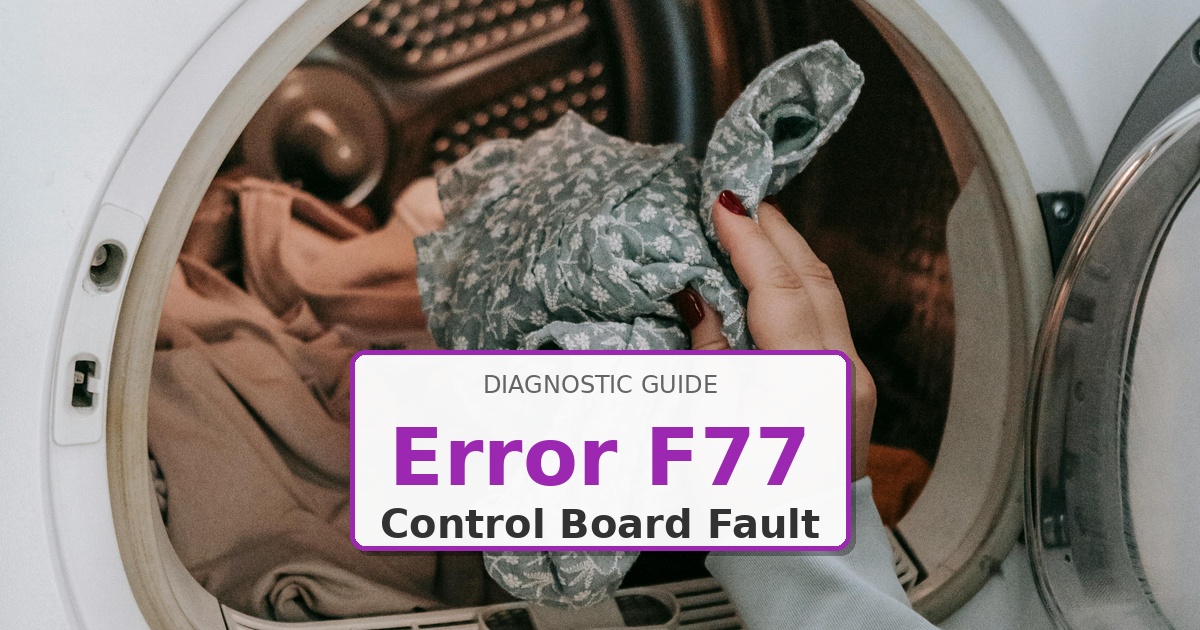
Author: ApplianceFixGuide Team

  • How to Fix Maytag Dryer Error F1E1

    How to Fix Maytag Dryer Error F1E1

    Problem: No voltage detected at heater relay—failed relay on control board or open thermistor circuit

    How to Fix Dryer Error

    1. Disconnect power and remove rear panel.
    2. Locate main control board and identify heater relay terminals.
    3. With power restored briefly (CAUTION), use multimeter to verify 120V AC present at relay input terminals during heat cycle.
    4. If input voltage present but no output to heater, relay has failed—control board must be replaced.
    5. If no input voltage, test inlet thermistor WP35001191 resistance (should be 10k-12k ohms at room temp).
    6. Replace thermistor if out of range.
    7. If thermistor good, check wiring harness between thermistor and control board for breaks or corrosion.
    8. If wiring intact and thermistor good but relay still not energizing, replace main control board WPW
    9. After repair, verify heater operation by measuring voltage at heating element terminals during cycle (should read 240V for electric models).
    10. Monitor exhaust temperature to confirm proper heating (135-155°F typical).

    Still Not Working?

    If the replacement part didn’t fix the issue, you may have a wiring problem or main board failure.


  • How to Fix Maytag Dryer Error F1E3

    How to Fix Maytag Dryer Error F1E3

    Problem: Incorrect electronic control board installed for model/serial number range

    How to Fix Dryer Error

    1. Power off dryer and note complete model number and serial number from rating plate (typically inside door frame or on rear panel).
    2. Remove rear panel to access control board.
    3. Note part number printed on existing control board WPW
    4. Cross-reference model/serial number with manufacturer parts database to identify correct board revision.
    5. Maytag uses multiple board revisions for same model number based on production date—verify serial number falls within board’s applicable range.
    6. Order exact replacement board matching both model number AND serial number range.
    7. Disconnect all wiring harnesses from old board—photograph connections before removal for reference.
    8. Remove mounting screws and extract old board.
    9. Install new board, ensuring all connectors are fully seated (listen for click on locking connectors).
    10. Restore power and enter setup mode to configure options per installation instructions.
    11. Run diagnostic cycle to verify all functions.

    Still Not Working?

    If the replacement part didn’t fix the issue, you may have a wiring problem or main board failure.


  • How to Fix Maytag Dryer Error F1E4

    How to Fix Maytag Dryer Error F1E4

    Problem: Control board internal communication failure between microprocessors

    How to Fix Dryer Error

    1. Disconnect power for 10 minutes to fully discharge board capacitors.
    2. Restore power and observe if error clears temporarily.
    3. If error returns immediately, remove rear panel to access control board.
    4. Inspect board thoroughly for: cold solder joints (especially around relay pins), cracked traces, moisture damage, or component overheating signs.
    5. Check all wiring harness connections to board—corrosion on pins can cause communication errors. Clean with electronic contact cleaner if needed.
    6. Test power supply voltages at board test points if schematic available (typically 5VDC and 12VDC rails).
    7. If voltages present but error persists, internal board communication has failed—replace main control board WPW
    8. During installation, ensure board is mounted securely with all screws to prevent vibration damage.
    9. Route wiring harnesses away from heat sources and moving parts.
    10. After replacement, run full diagnostic cycle and clear any stored fault codes per service manual procedure.

    Still Not Working?

    If the replacement part didn’t fix the issue, you may have a wiring problem or main board failure.


  • How to Fix Maytag Dryer Error F1E5

    How to Fix Maytag Dryer Error F1E5

    Problem: User interface board EEPROM failure or communication timeout with main control

    How to Fix Dryer Error

    1. Power off dryer for 5 minutes to reset interface board memory.
    2. Restore power and test basic functions (start/stop, cycle selection).
    3. If error returns, unplug dryer and remove top panel to access control boards.
    4. Locate ribbon cable connecting user interface board WPW10525353 to main control board.
    5. Disconnect ribbon cable at both ends and inspect for bent pins, corrosion, or physical damage.
    6. Clean connector pins with electronic contact cleaner and lint-free swab.
    7. Reconnect ribbon cable ensuring proper orientation (note alignment key/notch).
    8. Power on and test—if error persists, interface board has failed.
    9. Replace user interface board WPW10525353, transferring any model-specific configuration jumpers from old board to new.
    10. After installation, verify all display segments function and all buttons respond correctly before closing panels.

    Still Not Working?

    If the replacement part didn’t fix the issue, you may have a wiring problem or main board failure.


  • How to Fix Maytag Dryer Error F2E1

    How to Fix Maytag Dryer Error F2E1

    Problem: Stuck keypad/button on control panel causing continuous input signal

    How to Fix Dryer Error

    1. Power off dryer but leave plugged in to observe display behavior.
    2. Watch display for 30 seconds—F2E1 typically shows which button is stuck (e.g., ‘F2E1 TEMP’ indicates temperature button stuck).
    3. Unplug dryer.
    4. Remove control panel faceplate or top panel to access keypad assembly.
    5. Inspect affected button for physical obstruction (lint, debris, spilled liquid residue).
    6. Clean around button mechanism with compressed air and isopropyl alcohol on cotton swab.
    7. For membrane keypads: gently lift membrane edge and clean contact surfaces with alcohol.
    8. Test button operation manually—should depress smoothly and return fully without sticking.
    9. If button remains stuck after cleaning, keypad assembly must be replaced (part number varies y model).
    10. Reassemble and power on—error should clear automatically after 5 minutes or press CANCEL to reset immediately.

    Still Not Working?

    If the replacement part didn’t fix the issue, you may have a wiring problem or main board failure.


  • How to Fix Maytag Dryer Error F2E2

    How to Fix Maytag Dryer Error F2E2

    Problem: Communication failure between user interface board and main control board

    How to Fix Dryer Error

    1. Disconnect power for 5 minutes to reset both boards.
    2. Restore power and check if error clears.
    3. If error returns, unplug dryer and remove top panel.
    4. Locate ribbon cable connecting interface board WPW10525353 to main control board WPW
    5. Disconnect ribbon cable at both ends—inspect for bent pins, corrosion, or physical damage to cable.
    6. Clean connector pins with electronic contact cleaner and allow to dry completely.
    7. Reconnect ribbon cable ensuring proper orientation and full seating (should hear/feel click on locking connectors).
    8. Power on and test—if error persists, swap ribbon cable if spare available to isolate fault.
    9. If new cable doesn’t resolve issue, test interface board first (less expensive)—replace WPW
    10. If error remains after interface board replacement, main control board WPW10111608 has failed and must be replaced.

    Still Not Working?

    If the replacement part didn’t fix the issue, you may have a wiring problem or main board failure.


  • How to Fix Maytag Dryer Error F2E3

    How to Fix Maytag Dryer Error F2E3

    Problem: Moisture sensor communication error or intermittent connection

    How to Fix Dryer Error

    1. Unplug dryer and open door to locate moisture sensor bars inside drum opening.
    2. Clean sensor bars thoroughly with isopropyl alcohol to remove fabric softener residue.
    3. Remove front lower panel to access sensor wiring harness connection point.
    4. Trace harness from sensor bars to main control board—check for pinched wires near drum support or sharp edges.
    5. Disconnect harness at control board and inspect terminals for corrosion or bent pins.
    6. Clean terminals with electronic contact cleaner and reconnect firmly.
    7. Power on dryer and enter diagnostic mode (consult model-specific procedure).
    8. Run moisture sensor test—should show resistance change when wet cloth touches sensor bars.
    9. If no change detected after cleaning and reseating connections, replace moisture sensor assembly WPW
    10. Route new harness carefully avoiding pinch points and secure with wire ties away from moving parts.

    Still Not Working?

    If the replacement part didn’t fix the issue, you may have a wiring problem or main board failure.


  • How to Fix Maytag Dryer Error F2E4

    How to Fix Maytag Dryer Error F2E4

    Problem: Main control board relay stuck closed causing continuous heater operation

    How to Fix Dryer Error

    1. IMMEDIATE ACTION: Disconnect power at circuit breaker—stuck relay creates fire hazard from continuous heating.
    2. Remove rear panel to access heater assembly and control board.
    3. Inspect heating element for signs of overheating (discoloration, warped terminals).
    4. Check thermal fuse WP3392519 on blower housing—replace if blown (likely tripped from overheating).
    5. Remove control board WPW10111608 and inspect relay contacts visually for welding/sticking.
    6. Test relay coil resistance (typically 80-150 ohms)—infinite resistance indicates open coil.
    7. Test relay contacts for continuity with coil de-energized—should show open circuit. Continuity indicates welded contacts.
    8. Control board cannot be repaired—replace entire WPW10111608 assembly.
    9. Before reinstalling, verify blower wheel rotates freely and vent system is clear to prevent recurrence.
    10. After replacement, run short test cycle with infrared thermometer monitoring exhaust temperature—should cycle normally (not continuously heat).

    Still Not Working?

    If the replacement part didn’t fix the issue, you may have a wiring problem or main board failure.


  • How to Fix Maytag Dryer Error F3E1

    How to Fix Maytag Dryer Error F3E1

    Problem: Exhaust thermistor open circuit or out-of-range resistance

    How to Fix Dryer Error

    1. Disconnect power and remove rear panel.
    2. Locate exhaust thermistor WP3392519 mounted on exhaust duct near heater outlet.
    3. Disconnect wiring harness from thermistor terminals.
    4. Set multimeter to resistance mode and measure across thermistor leads.
    5. At room temperature (70°F/21°C), expected reading is 10k-12k ohms. Acceptable range: 5k-20k ohms depending on ambient temperature.
    6. If reading shows open circuit (OL/infinite) or short circuit (near 0 ohms), thermistor has failed.
    7. Remove mounting screw securing thermistor to duct wall.
    8. Extract old thermistor and install new WP3392519, ensuring sensor tip protrudes fully into air stream.
    9. Reconnect wiring harness with terminals fully seated.
    10. Reassemble dryer and run test cycle—exhaust temperature should read 135-155°F on cotton setting. Verify in diagnostic mode if available.

    Still Not Working?

    If the replacement part didn’t fix the issue, you may have a wiring problem or main board failure.


  • How to Fix Maytag Dryer Error F3E2

    How to Fix Maytag Dryer Error F3E2

    Problem: Moisture sensor failure—five consecutive loads dried without moisture detection

    How to Fix Dryer Error

    1. Unplug dryer and open door.
    2. Locate two parallel stainless steel moisture sensor bars inside drum opening near lint filter.
    3. Clean bars thoroughly with isopropyl alcohol and non-abrasive cloth—remove all fabric softener buildup, lint, and residue.
    4. Inspect for physical damage to bars or foreign objects (coins, safety pins) bridging the gap causing short circuit.
    5. Remove front lower panel to access sensor wiring harness connection at control board.
    6. Disconnect harness and measure resistance across terminals—should read 1-2 megohms when dry. Near-zero resistance indicates shorted sensors.
    7. If cleaning doesn’t resolve issue, replace moisture sensor assembly WPW
    8. Route new harness carefully avoiding pinch points near drum rotation path.
    9. Reconnect to control board ensuring secure connection.
    10. Power on and press POWER button to clear error code. Run test load with damp towels to verify sensor operation—cycle should extend drying time appropriately.

    Still Not Working?

    If the replacement part didn’t fix the issue, you may have a wiring problem or main board failure.