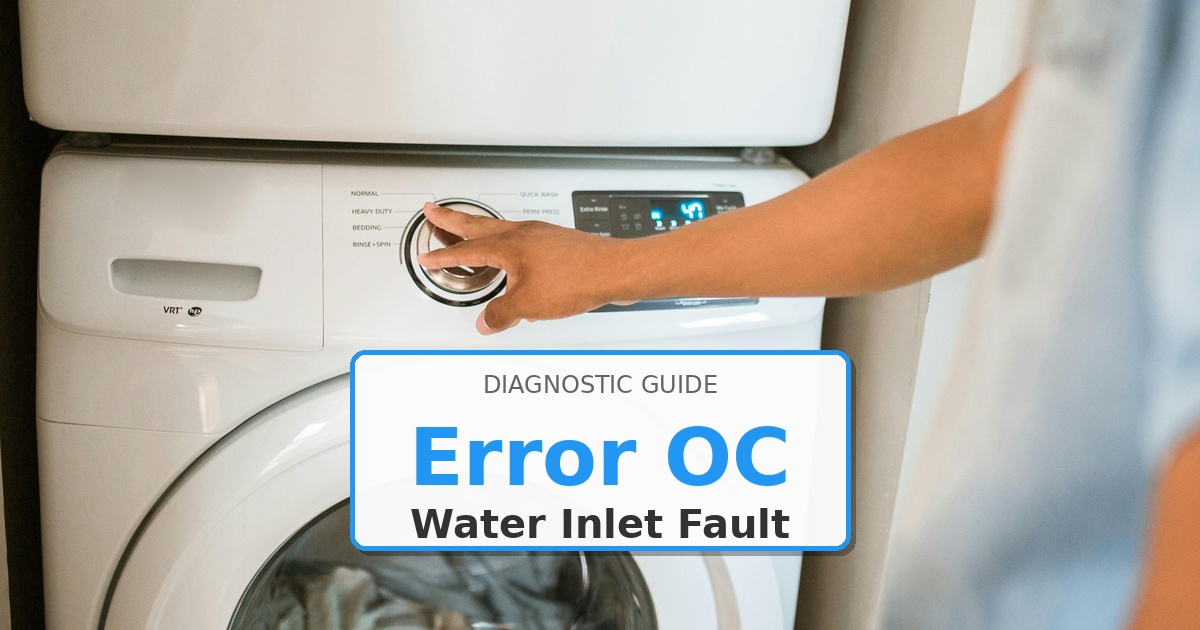
Author: ApplianceFixGuide Team

  • How to Fix Maytag Refrigerator Error LED Flash Code 5

    How to Fix Maytag Refrigerator Error LED Flash Code 5

    Problem: Service mode diagnostic: 5 flashes = ice maker fault (matches F5)

    How to Fix Refrigerator Error

    1. Enter service mode and confirm 5-flash pattern.
    2. Manually test ice maker harvest cycle via test terminals.
    3. Replace ice maker assembly WPW10304150 if motor/gear failure confirmed.
    4. Clear fault history via test #25 after verifying 2 complete ice production cycles.

    Still Not Working?

    If the replacement part didn’t fix the issue, you may have a wiring problem or main board failure.


  • How to Fix Maytag Refrigerator Error LED Flash Code 6

    How to Fix Maytag Refrigerator Error LED Flash Code 6

    Problem: Service mode diagnostic: 6 flashes = user interface board fault (matches F6)

    How to Fix Refrigerator Error

    1. Enter service mode and confirm 6-flash pattern.
    2. Test UI board power input (12-14VDC) and communication signals.
    3. Replace user interface board WPW10366217 if unresponsive.
    4. Clear fault history via test #25 after successful board initialization.

    Still Not Working?

    If the replacement part didn’t fix the issue, you may have a wiring problem or main board failure.


  • How to Fix Maytag Refrigerator Error LED Flash Code 7

    How to Fix Maytag Refrigerator Error LED Flash Code 7

    Problem: Service mode diagnostic: 7 flashes = condenser fan fault (matches F7)

    How to Fix Refrigerator Error

    1. Enter service mode and confirm 7-flash pattern.
    2. Test condenser fan motor resistance and operation with direct 120VAC.
    3. Replace condenser fan motor WPW10617115 if faulty.
    4. Clean condenser coils thoroughly.
    5. Clear fault history via test #

    Still Not Working?

    If the replacement part didn’t fix the issue, you may have a wiring problem or main board failure.


  • How to Fix Maytag Refrigerator Error LED Flash Code 8

    How to Fix Maytag Refrigerator Error LED Flash Code 8

    Problem: Service mode diagnostic: 8 flashes = evaporator fan fault (matches F8/SY EF)

    How to Fix Refrigerator Error

    1. Enter service mode and confirm 8-flash pattern.
    2. Access evaporator compartment and test fan motor.
    3. Replace evaporator fan motor WPW10342223 if seized or electrically open.
    4. Clear fault history via test #25 after verifying fan operation during cooling cycle.

    Still Not Working?

    If the replacement part didn’t fix the issue, you may have a wiring problem or main board failure.


  • How to Fix Maytag Refrigerator Error LED Flash Code 9

    How to Fix Maytag Refrigerator Error LED Flash Code 9

    Problem: Service mode diagnostic: 9 flashes = defrost system fault (matches F9)

    How to Fix Refrigerator Error

    1. Enter service mode and confirm 9-flash pattern.
    2. Perform forced defrost test #101 to verify heater/thermostat operation.
    3. Replace defrost thermostat WPW10316428 or heater as needed.
    4. If components test good, replace main control board W
    5. Clear fault history via test #25 after successful defrost cycle completion.

    Still Not Working?

    If the replacement part didn’t fix the issue, you may have a wiring problem or main board failure.


  • How to Fix Maytag Refrigerator Error 8.8.8

    How to Fix Maytag Refrigerator Error 8.8.8

    Problem: Critical control board failure – EEPROM corruption or hardware fault preventing normal operation

    How to Fix Refrigerator Error

    1. Unplug refrigerator for 15 minutes – if
    2. 8 returns immediately on power-up, board is defective.
    3. Remove rear access panel and inspect main control board W10868991 for visible damage (burnt components, swollen capacitors).
    4. Check all harness connections – especially J1 power input – for loose/corroded pins.
    5. Verify proper household voltage (110-125VAC) at outlet.
    6. If board shows no physical damage but
    7. 8 persists, EEPROM has failed – replace main control board with exact OEM match.
    8. AFTER replacement: MUST enter programming mode and input correct 4-digit code from serial plate sticker. Failure to program correctly causes permanent lockout.
    9. Note:
    10. 8 often appears after power surge – install whole-house surge protector to prevent recurrence.

    Still Not Working?

    If the replacement part didn’t fix the issue, you may have a wiring problem or main board failure.


  • How to Fix Maytag Refrigerator Error PE ICE

    How to Fix Maytag Refrigerator Error PE ICE

    Problem: Ice maker configuration error – control board detecting incompatible ice maker type after replacement

    How to Fix Refrigerator Error

    1. Enter programming mode (Door Alarm + Freezer Down 3 sec).
    2. Navigate to ice maker configuration setting (typically code position
    3. .
    4. Verify settingmatches installed ice maker type: 0=no ice maker, 1=standard, 2=high-capacity.
    5. If incorrect, adjust setting using Temp Up/Down keys.
    6. Save by holding Freezer Down 3 seconds until flashing.
    7. If correct setting won’t save or PE ICE returns: ice maker harness has short circuit – inspect wiring between ice maker and main board.
    8. Last resort: main control board W10868991 has failed ice maker driver circuit – replace board and reprogram completely.

    Still Not Working?

    If the replacement part didn’t fix the issue, you may have a wiring problem or main board failure.


  • How to Fix Maytag Refrigerator Error PE H2O

    How to Fix Maytag Refrigerator Error PE H2O

    Problem: Water system configuration error – control board detecting incompatible water valve or filter system

    How to Fix Refrigerator Error

    1. Enter programming mode and navigate to water system configuration (typically code position
    2. .
    3. Verify setting matches installed system: 0=no water, 1=standard valve, 2=electronic valve.
    4. Adjust setting if incorrect and save properly.
    5. If PE H2O persists: inspect water valve harness for short circuit – disconnect valve and test resistance (should read 150-300Ω).
    6. Test water filter presence switch continuity – should close when filter installed.
    7. If all components test good, main control board W10868991 has failed water valve driver – replace board and reprogram.

    Still Not Working?

    If the replacement part didn’t fix the issue, you may have a wiring problem or main board failure.


  • How to Fix Maytag Dryer Error F01

    How to Fix Maytag Dryer Error F01

    Problem: Main electronic control board failure or motor control circuit error

    How to Fix Dryer Error

    1. Disconnect power at circuit breaker for safety.
    2. Remove rear panel to access control board.
    3. Inspect board for burnt components, bulging capacitors, or scorch marks.
    4. Check motor wiring harness for damage or loose connections at both motor and board.
    5. Test motor windings with multimeter (should read 2-6 ohms between terminals).
    6. If motor tests good and wiring intact, replace main control board WPW
    7. Reconnect all harnesses securely before reassembly.
    8. Restore power and run diagnostic cycle to verify repair.

    Still Not Working?

    If the replacement part didn’t fix the issue, you may have a wiring problem or main board failure.


  • How to Fix Maytag Dryer Error F02

    How to Fix Maytag Dryer Error F02

    Problem: User interface control board communication failure or stuck keypad

    How to Fix Dryer Error

    1. Power off dryer and unplug from outlet.
    2. Open top panel by removing screws along rear edge and sliding panel backward.
    3. Locate user interface board behind control panel.
    4. Disconnect all ribbon cables and wiring harnesses.
    5. Inspect for moisture damage, corrosion, or burnt traces on board.
    6. Test individual keypads with multimeter in continuity mode—press each button to verify proper contact closure.
    7. If any keypad shows continuous continuity (stuck), clean contacts with electronic contact cleaner.
    8. If cleaning fails or board shows damage, replace interface board WPW
    9. Reconnect all harnesses ensuring proper orientation of ribbon cables.
    10. Power on and test all functions.

    Still Not Working?

    If the replacement part didn’t fix the issue, you may have a wiring problem or main board failure.